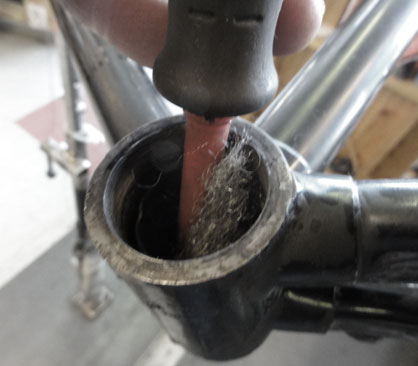


The Raleigh went back together nicely. Having cleaned and polished parts in their own plastic bags made reassembly a snap. New tires, tubes, grips, crank cotters, ball bearings and a new shift cable were the only new parts needed. Replacement bits came to about 1/4 the cost of what it would cost to overhaul a standard modern bicycle. The project has been fun, easy and incentive to restore more Raleigh Roadsters.
Beautiful job!
ReplyDeleteI like how the cost is so much cheaper than overhauling a modern bike. Those steel parts ain't light, but they last!
When we overhauled my Rudge, we used what we could that was on the bike, or found appropriate used parts. The only "new" things were cables, brake pads, chain, and a VO waterbottle clamp. (We used new tires, but I found them for free.) The cost: about $50 altogether.
And thats exactly how I first got into restoring Raleighs. They were Free! They also for the most part were never ridden. Later in time, I would meet British bicycle mechanics that would tell me that all the bikes in the UK were worn out or thrown out. Don't you love the good ol USA?
ReplyDeleteHi Scott
ReplyDeleteI just scored a beautiful Raleigh from a dumpster. It looks like someone tried to upgrade the cables and brakes and gave up. It's my wife's size. Now I need my own...
Hey, what's the thing on the front of the headset where sometimes a reflector would be?
UK